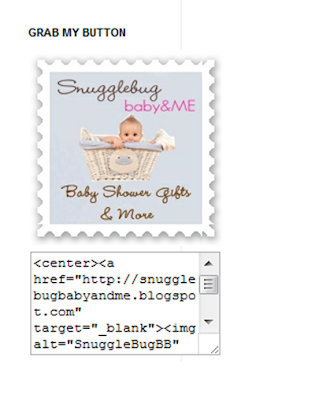
So here are some written and visual aids in how to make a simple Grab my button for your blog from start to finish. These instructions are on how I made mine, the software and programs I use. You can use others.
Things you’ll need:
1) A Photobucket account to store your little button picture in (www.photobucket.com). It’s free!
2) A picture of what you want to use for your button (widget).
3) Your favorite photo editing program. I have several free ones but absolutely love my Photoscape (free) editor.
4) Time to play.
Choose a photo; make a word photo, or even your little avatar will make a cute grab it button. I used my logo, and added a frame around it. Let’s just take you avatar for this one.
In your photo editing program, resize your photo to 150 x 150. Save it on your computer.
1. Upload your photo to Photobucket. Once you upload the photo, you’ll see something like this.
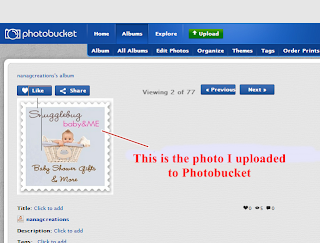
2. See the Share button above the picture? Click on it.
4. The one option that is checked off is called “Direct link for layout pages. The box is small and the print is smaller, but stay with me here, we almost have you a grab button. Put your cursor in the box and highlight the whole text (be sure you have it all by holding down your mouse key and dragging it to the end). Now… right click your mouse and click on “Copy”.
Then open a blank word document or you can use note pad if you want, and paste the text.
It should look something like this with an initial, numbers.photobucket.com – and so on.
So we are now all done with getting your button made, resized, added to your photo storage system (photobucket), and direct link copied. Ready for some Code?
Let’s get busy changing my code to yours!
Step Two: This is where you will need to take your time, check and double check that you are only deleting the highlighted words and adding your information to it. The photo’s below will show you what mine looks like, and what needs to be changed to yours. Be careful along the way that you don’t delete any quote marks (“) carat marks < > forward slashes // etc. They are all needed, and your links won’t work without them. Time to get crack-a-lackin!
Here is the information that is in my blog (its step 3 below, that we’ll get to in a moment).
Example 1
These are the areas that you will be changing:
Example 2
No, go back to your word document and copy down the exact code in Example 1 above. Remember that all the characters mean something in code so don’t forget any of them. Go ahead and do that now. I’ll wait here for you….
Done?
I have highlighted the exact information that you will be deleting from what you just did in yours, and told you what needs to go there in Example 3 above. Snugglebugbabyand me is now gone and you will be adding the name of your blog. The part that say insert a short name here is just something you make up. I just happened to use SnugglebugBB for mine.
I would follow the order of the different highlight colors for this so that you don’t get too confused. Yellow first, green second and the grey last.
The Grey part is what you uploaded to photobucket, copied and pasted (it starts out with “http:// and will end with “/>. Copy and paste that into the grey area.
Note: Don’t use any spaces in your coding even if it looks like there are in these directions, okay?
Step 2 done. Let’s finish this up so you can see the finished product.
Step Three: Open your blog and go to the Dashboard and Design page. I’m not using the updated blogger interface since I don’t know how to navigate around it yet, so I hope your screen will look like mine so we can finish this.
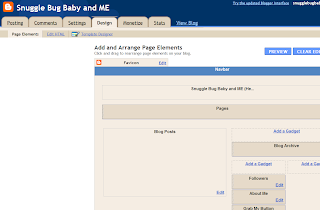
Click on Add a Gadget. A popup will want you to choose an option. Choose the HTML/JavaScript button (scared yet? Don’t be).
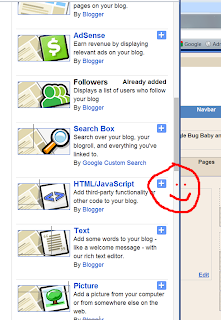
The next box will show up and this is where you will Title the button and enter the code we made in your word document.
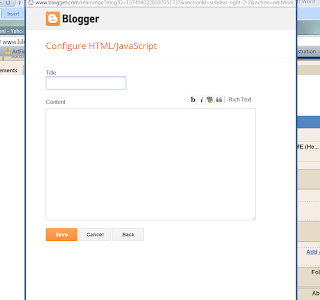
The name you put in the “Title” box is the name that will appear on your blog above the grab it button. Copy the code we just did in word and paste it in the content box, then click SAVE.
This is what it should look like.
Preview your page and see if it shows up on the side bar. If not, then go back into the gadget (Edit), and make sure that all the quote marks, forward and backward slashes are still there.
This is what my finished Grab My Button looks like:


No comments:
Post a Comment